


Home cooks making pesto want a mortar and pestle wide enough to crush a full bunch of basil into paste in one batch, not a blender that bruises the leaves and turns the sauce bitter. Someone just crushing a single garlic clove for a vinaigrette can get by with a small bowl; a cook making a real batch of pesto needs width, weight, and a rough interior that grips the leaves instead of letting a spinning blade slide past them.
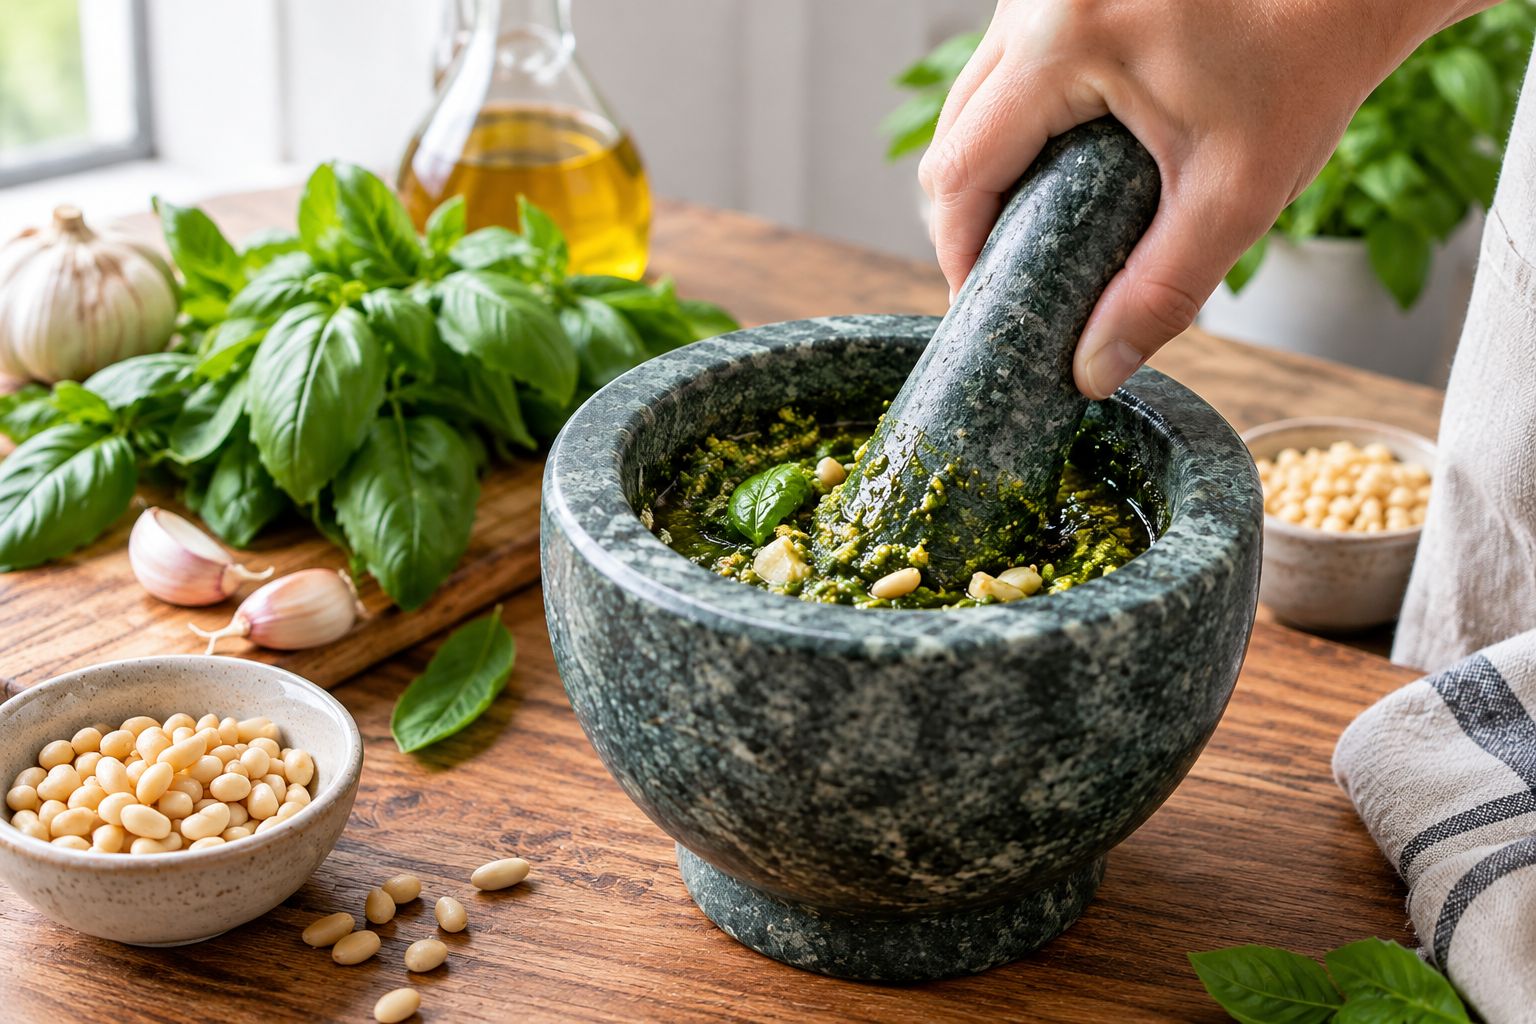
- A granite mortar and pestle for pesto crushes basil into paste without bruising it or turning it bitter.
- Marble stains from garlic and oil over time; granite is the material that holds up in 2026 kitchens.
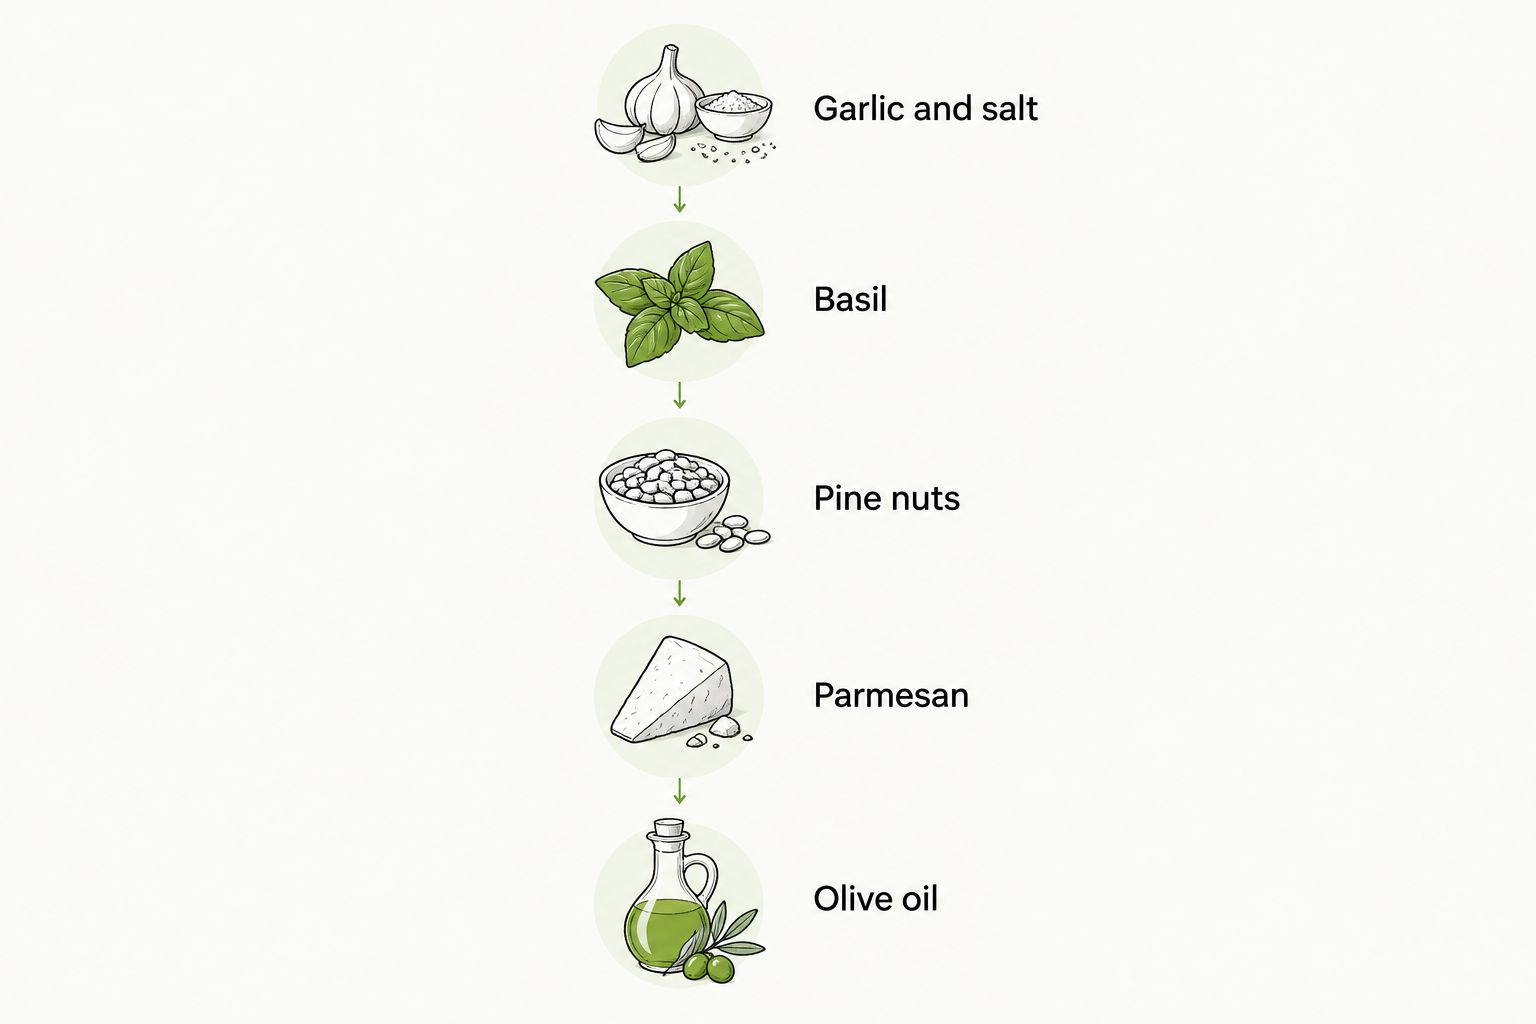
- Crush garlic and salt first, basil next, then pine nuts, cheese, and olive oil last for the smoothest texture.
- Finish hand-crushed pesto with a few fresh turns of a pepper mill instead of pre-ground pepper for more aroma.
Why a Mortar and Pestle Matters for Pesto Makers
Pesto comes from the Italian verb pestare, meaning to crush, and cooks were making it by hand long before anyone owned a food processor. The mortar and pestle method still wins on flavor because crushing basil releases its oils slowly, while a spinning blade heats the leaves fast enough to dull a bright green sauce within minutes.
Hand-crushed pesto also has a different mouthfeel: small, uneven flecks of basil, garlic, and pine nut instead of the smooth puree a blender produces. If you already crush spices and herbs by hand, the pesto method uses the same motion with softer ingredients and more oil.
A granite mortar and pestle is the best mortar and pestle for pesto for cooks who make it often — it's heavy enough to press oil out of basil without a machine and won't stain the way marble can. In 2026, the technique hasn't changed. Cooks still reach for stone over steel when texture is the point.
Choose the Right Mortar and Pestle for Pesto
- Granite: heavy, rough-surfaced, and non-porous — holds up to garlic and oil without staining.
- Marble: smooth and attractive on the counter, but unsealed stone can pick up stains from garlic oil.
- Wood: light and easy to move, but it holds onion and garlic smell after repeated pesto batches.
- Bowl size: pick one that holds at least two packed cups of basil so you can crush a full batch without stopping halfway.
- Pestle shape: a wide, rounded head breaks down leaves faster than a narrow tip built for grinding spices.
Prep Your Ingredients Before You Start Crushing
- Wash and fully dry the basil — wet leaves slip instead of breaking down.
- Peel the garlic and cut cloves in half so the pestle crushes them fast.
- Toast the pine nuts or walnuts lightly to bring out their oil before crushing.
- Grate the Parmesan finely so it folds into the paste instead of clumping.
- Measure the olive oil ahead of time — you'll add it gradually near the end.
Crush in the Right Order
- Garlic and a pinch of coarse salt first — the salt acts as an abrasive and speeds up the crush.
- Basil leaves next, added in small handfuls, pressed and turned rather than pounded flat.
- Toasted pine nuts once the basil is mostly broken down.
- Parmesan folded in after the paste turns smooth.
- Olive oil last, drizzled in slowly while you keep turning the pestle.
Work in Batches to Avoid Bruising the Basil
Crushing too much basil at once is the fastest way to end up with a dull, watery paste instead of a bright one. Small batches keep the leaves under control and let the pestle actually crush instead of just smearing them around the bowl.
- Crush no more than one packed cup of basil at a time in a standard-size mortar.
- Press and twist the pestle against the bowl wall instead of pounding straight down.
- Stop as soon as the leaves break down to a coarse paste — over-crushing pushes out too much chlorophyll and turns the sauce dark.
- Scrape the paste into a bowl between batches so the mortar has room for the next handful.
Finish with Oil and Fresh Cracked Pepper
Pesto isn't a pepper-forward sauce, but a few fresh turns at the end round out the garlic and cheese. A PepperMate traditional pepper mill loaded with whole black peppercorns does more for the finish than a jar of pre-ground pepper that lost most of its aroma months ago.
- Finish with 2-3 twists of a pepper mill loaded with whole peppercorns, not pre-ground pepper.
- Taste before adding more salt — Parmesan and pecorino both carry plenty on their own.
- Toss the finished pesto with hot pasta right away on pepper mill for Italian pasta and pizza night, since the heat blooms the garlic and pepper together.
- Store leftover pesto under a thin layer of olive oil to keep it from browning.
Finish Pesto with Fresh Pepper
A few fresh turns at the end change the whole dish.
Clean and Store Your Mortar and Pestle
- Rinse with warm water only — skip soap on unsealed marble or wood, since both absorb it.
- Scrub with coarse salt and a stiff brush to lift garlic oil out of the pores.
- Dry completely before storing; a damp wood pestle can crack or warp.
- Reseal a marble mortar with food-grade mineral oil every few months if you use it weekly.
Scale the Technique for Other Pastes
- Chimichurri: parsley, garlic, oregano, and vinegar crush the same way basil does.
- Romesco: roasted red peppers and almonds need a slightly heavier pestle to break down the nuts.
- Harissa: dried chilies and cumin seeds crush best after a quick toast, the same as pine nuts.
- Green goddess base: tarragon, chives, and anchovy crush into paste before you thin it with buttermilk or oil.
Mortar and Pestle Options for Making Pesto
These five options cover what most home cooks reach for in 2026, whether the goal is a weekly habit or an occasional special-occasion batch.
| Option | Best for | Key limitation |
|---|---|---|
| Granite mortar and pestle | Cooks who make pesto often and want a tool that won't stain | Heavy — not easy to store in a small kitchen |
| Marble mortar and pestle | Cooks who want a tool that also looks good on the counter | Porous; needs sealing to resist garlic oil stains |
| Wood mortar and pestle | Occasional pesto makers who want a lighter tool | Holds onion and garlic smell after repeated use |
| Food processor | Cooks short on time who don't mind a smoother, less textured pesto | Blade heat and speed bruise basil and dull the color faster |
| Mini chopper or immersion blender | Small, single-serving batches | Struggles with larger volumes and uneven ingredient sizes |
Granite wins for anyone making pesto more than a few times a month. Marble wins on looks but needs more upkeep, and a food processor is the trade-off pick when speed matters more than texture.
Common Mistakes Pesto Makers Make
- Using a food processor for a special-occasion pesto, then wondering why it looks and tastes different from a restaurant version — the blade heat is the difference, not the recipe.
- Over-crushing the basil until the paste turns from bright green to nearly black, which is oxidized chlorophyll, not a flavor upgrade.
- Skipping the toast on pine nuts or walnuts, which leaves the pesto tasting flat instead of nutty.
- Cleaning a marble mortar with dish soap, which seeps into the stone and can carry into the next batch.
- Finishing with pre-ground pepper from a shaker instead of a fresh crack from a mill, which mutes the aroma the rest of the dish is built around.
FAQ
What's the best mortar and pestle for pesto?
A granite mortar and pestle is the best choice for pesto because its rough, non-porous surface crushes basil, garlic, and pine nuts into paste without staining or absorbing oil. Marble looks nicer on the counter but needs regular sealing to resist garlic stains.
Is a mortar and pestle better than a food processor for pesto?
Yes, for flavor and texture — hand crushing releases basil's oils slowly and keeps the sauce bright green, while a food processor's spinning blade heats the leaves and can turn the color dull within minutes. A food processor is faster, which matters more on a weeknight.
What size mortar and pestle do I need for pesto?
Pick a bowl that holds at least two packed cups of basil so you can crush a full batch without stopping to switch bowls. A mortar sized for spices alone is usually too small for a real batch of pesto.
Can I make other pastes in a mortar and pestle besides pesto?
Yes — chimichurri, romesco, harissa, and green goddess bases all crush the same way, using garlic and salt first and oil or liquid last. The same mortar and pestle works for all of them.
How do I clean a marble mortar and pestle after making pesto?
Rinse with warm water and scrub with coarse salt and a stiff brush, then dry it completely. Skip dish soap on unsealed marble or wood, since both materials absorb it and can carry the taste into your next batch.
Does mortar and pestle pesto taste different from blender pesto?
Yes — hand-crushed pesto has an uneven, slightly chunky texture and a brighter, less bitter basil flavor because the leaves aren't heated by a spinning blade. Blender pesto is smoother but can taste slightly more bitter if it's over-processed.
How much does a mortar and pestle for pesto cost?
Prices vary in 2026 based on material and size, with granite and marble sets generally costing more than wood. Check current listings for exact pricing since it changes by retailer and size.
One Last Thing
Pesto recipes were already being written down in Genoa by the 1860s, and every one of them called for a mortaio, not a machine — the tool predates the sauce's fame by decades. That style of cooking hasn't changed heading into 2026, even with every kitchen gadget sold today. If you take one thing from this guide, make it the order of operations: garlic and salt first, oil last, and a few fresh turns of pepper right before serving.

